


Snap Ins
- Anurag Chauhan

- May 1, 2018
- 2 min read
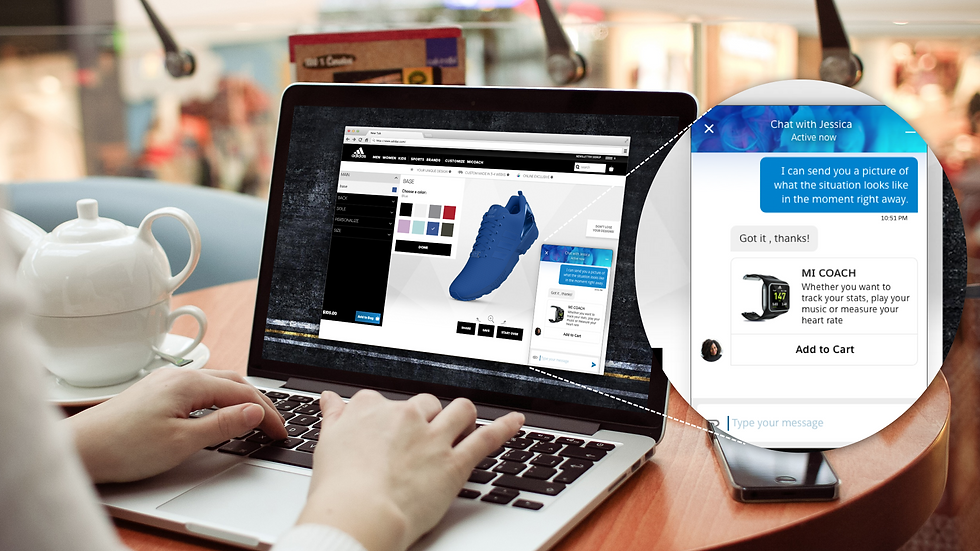
Integrate customer support directly into your web pages and mobile apps to reach customers right where they are.
FIRST -- CREATE LIVE AGENT
Step 1
Enable Live Agent
From Setup in Sales force Classic, enter Live Agent Settings in the Quick Find box, then select Live Agent Settings.
Select Enable Live Agent.
Click Save.
Step 2
Create and Assign Live Agent Skills
From Setup, enter Skills in the Quick Find box, then select Skills.
Click New.
Enter a name for the skill. For example, you can create a skill that’s called “Accounts” for agents who specialize in questions about customer accounts.
In the Assign Users area, select the users whom you want to associate with the skill.
In the Assign Profiles area, select the profiles that you want to associate with the skill.
Click Save.
Step 3
Create Live Agent Configurations
From Setup in Sales force Classic, enter Live Agent Configurations in the Quick Find box, then select Live Agent Configurations.
Click New.
Choose the settings for your Live Agent configuration.
Click Save.
Step 4
Create Chat Buttons
From Setup in Sales force Classic, enter Chat Buttons in the Quick Find box, and then select Chat Buttons & Invitations.
Click New.
Select Chat Button from the Type field.
Choose the remaining settings for your chat button.
Click Save.
Copy the button code, and then paste it on each Web page where you’ve deployed Live Agent. Make sure that you paste the code in the area on the page where you want the button to appear.
Step 5
Create Live Agent Deployments

From Setup in Sales force Classic, enter Deployments in the Quick Find box, then select Deployments.
Click New.
Choose the settings for your deployment.
Click Save.
Sales force generates the deployment code.
Copy the deployment code, and then paste it on each Web page where you want to deploy Live Agent. For best performance, paste the code immediately before the closing body tag (that is, </body>).
NOW ---ENABLE SNAP INS
Step 1
Add the URLs of the web pages where you intend to add the snap-in to the CORS whitelist in your org.
Step 2

Create a Snap-in deployment for each snap-in that you’re using.
Specify the Live Agent Settings for Your Snap-Ins Chat Deployment.
Customize Branding and Select the colors and font used in your snap-in to reflect your company’s brand identity.
NOTE: The setup node for Snap-ins Chat is available only in Lightning Experience.
Step 3
Copy Snap Ins chat code
Sales force generates a Unique Code Snippet based on the information you provided during the Snap-ins Chat setup. Copy and paste the chat code snippet so you can add the snap-in to your web pages or vf page .

Comments